Attaching Fluorocarbon To Braid: Why And How To Do It
|
|
Time to read 2 min
|
|
Time to read 2 min
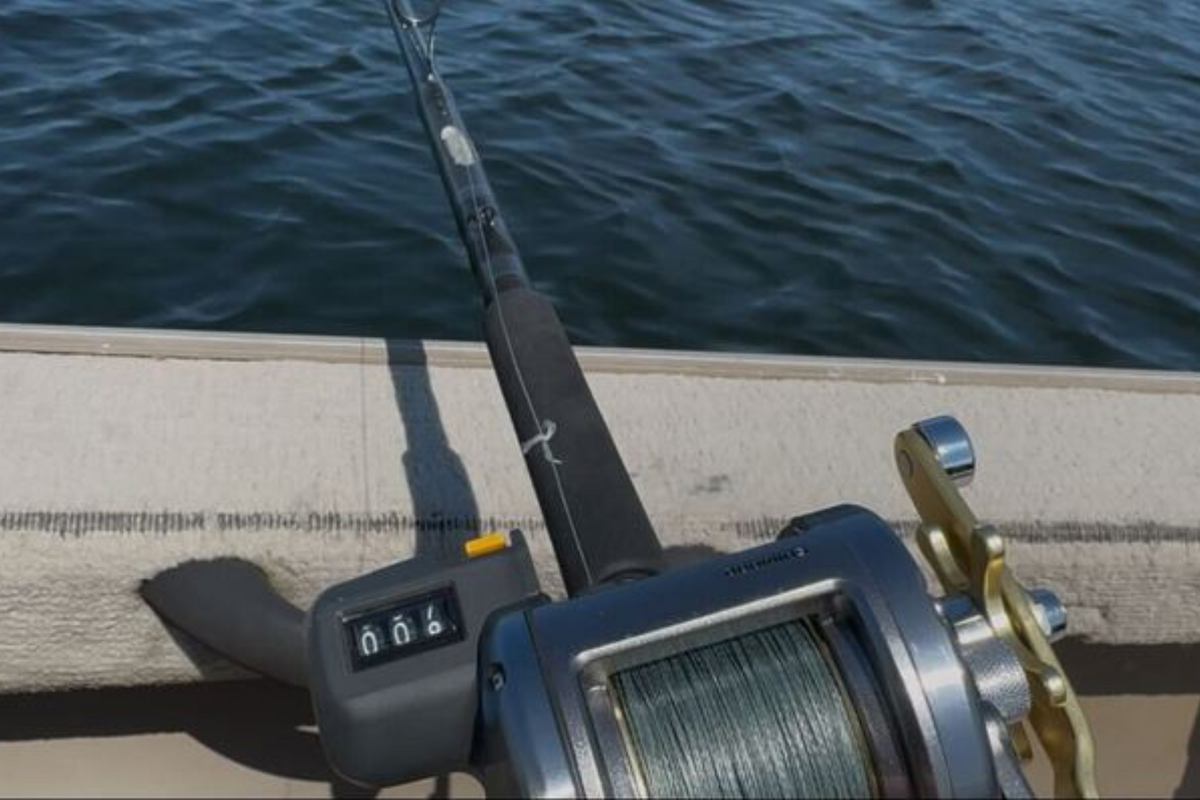
Attaching fluorocarbon to braid is an important aspect of fishing that all anglers should know about. Here’s why you should do it and some of the best knots to do it.
There are lots of reasons why you’d want to attach fluorocarbon to braid, but here are the main ones:
Many anglers choose braid because of how sensitive it is and the hooksets you can achieve with it. Braid has minimal stretch, allowing you to detect subtle bites. Adding fluorocarbon to braid has many other benefits, and doesn’t negatively impact the benefits of using braid all that much.
Braid is easily visible in water, which makes adding fluorocarbon important. Fluorocarbon is virtually invisible while underwater, which makes your lure presentation that much more natural. This is especially important when fishing for finicky or pressured fish, so attaching fluorocarbon to braid is a good idea.
Braid is a very strong type of fishing line, but it has some issues when it comes to rougher areas as it can fray or break. Fluorocarbon helps as it is extremely abrasion resistant, allowing you to fish come areas of dense cover that braid may have problems in.
Braided line lasts a long time, and is relatively cheap compared to other types of line. This makes it the ideal type of line to use as your mainline on your reel. Fluorocarbon adds in a ton of other benefits, and by using it as a leader, you only need to replace small sections every so often, helping to reduce overall costs.
Braid and fluorocarbon are an amazingly versatile combo. Braid is great for its overall strength and casting distance, while fluorocarbon provides a ton of needed stealth as well as some shock absorption from big strikes.
Attaching fluorocarbon to braid has a ton of benefits, however, it can be difficult to actually attach these two lines if you’ve never done it before. Here are some of the most common knots anglers use to do this and how to tie them:
Take your braid and your fluorocarbon and put them parallel with each other, allowing 6 to 8 inches of overlap
Take your braid and double it back on itself, creating a loop
Wrap the end of the line around the fluorocarbon and through the loop 5 to 7 times
Pull the braid tight to create the first knot
Repeat those steps with your fluorocarbon to create the second uni knot
Pull on the ends of each line in order to secure both knots
Apply tension to your braid consistently, leaving about 6 inches of line below the tension
Wrap your fluorocarbon all the way around the top of your braid, then all the way below your braid. Do this for a total of 8 to 10 times.
Take the end of your braid and loop it around your fluorocarbon and back through itself, and pull tight twice
Grab the top of your braid by your rod tip in one hand, and the fluorocarbon in the other hand, and pull the main line as hard as you can
Cut the tag end of your fluorocarbon
Take the end of your braid, loop it around itself, and tie it down to the knot two more times
Take your fluorocarbon and double it up on itself, creating a loop
Take your braid and feed it through the loop
Wrap the braid up the fluorocarbon 7 times, then back down towards the loop 7 more times
Feed the braid back through the loop
Pull both the braid and the fluorocarbon tight, creating the knot


